How to Paint a Ceiling & Fun Colors to Try!
Painting a ceiling can be a real pain in the neck – especially if you don’t know what you’re doing! Still, if you’re renovating or redesigning a space on your own, it’s nice to get a fresh coat of paint up there, or a fun pop of color. Painting ceilings really just follows a lot of the same steps as painting a wall, but since it’s directly above your head, there are some unique considerations. Here’s how to paint a ceiling & fun colors to try.
- Empty the room. Having a completely empty room isn’t imperative, but it’s easier and safer. If you have to move things around as you work by them, you increase your chances of tripping over something and either messing up your paint job or getting hurt. You’re going to be looking up a lot, so you won’t always see where your feet are stepping or what they are stepping on.
- Use drop cloths or resin paper to cover the floor. Cover the entire floor, so you aren’t trying to move the drop cloths as you work. Avoid tripping or slipping on the drop cloths by using painters tape to keep them in place.
- Use a high quality 2.5 inch paint brush to cut in the room. A lot of painters recommend a 3 inch brush, but we think that inexperienced painters sometimes feel more comfortable with the 2.5. It’s just a little smaller in the hand and could be easier for cutting in if you haven’t done this very often before. Try them out in your hand at the store. Hold the brush like you would a pencil and see which one you like best.
- Cut in. When you’re cutting in you want to get the paint into the corner where it meets the wall. If you are painting the walls after the ceilings then you can paint down into the wall an inch or two. This means you really can’t cut in wrong. Go out about 4 inches from the corner on the ceiling. Use a uniform amount of paint and always back brush where you have painted.
- Use the right roller sleeve. Use a high quality roller sleeve that is between ⅜ to 1 inch nap depth. The ⅜ inch nap roller sleeve is for smoother surfaces and the 1 inch nap roller sleeve is better for a ceiling with a lot of texture.
- Roll out the ceiling. When you are rolling start about 12 inches from the edge of the wall and roll in the W pattern like you would on a wall. You want to use a uniform amount of pressure and go at a steady speed. Don’t try to go to fast or you’ll get paint splattered all over you. Move from right to left and do a section of the ceiling to the opposite wall from where you started. Don’t step back and start a new row until you have worked your way over to the opposite wall. Then go back to the wall you started at and do another row behind your first one.
- Take a break every hour. Avoid getting a pain in your neck by taking a break every hour or so and doing some neck stretches.
Here’s a helpful video so you can visualize the process:
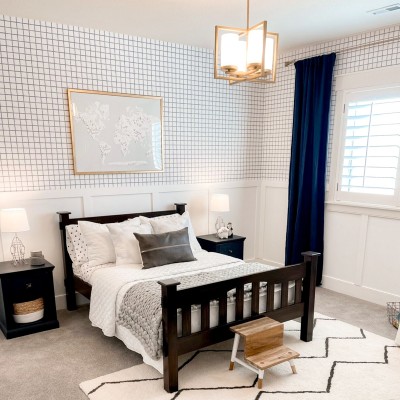
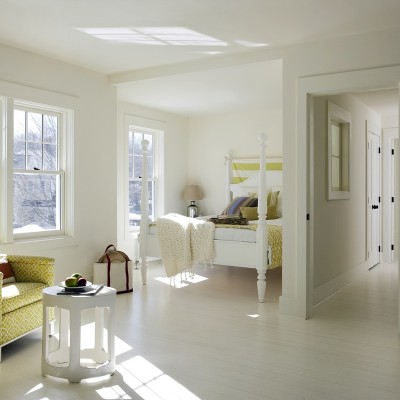
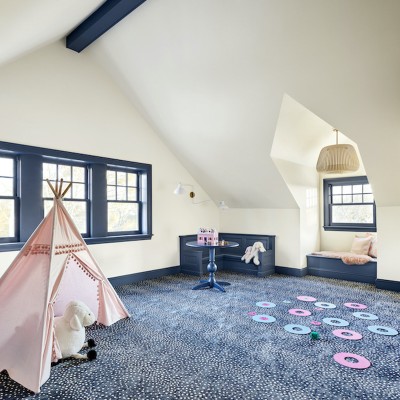
Now that you’re ready to paint your ceilings yourself, it’s time to choose a color. Sure, most ceilings are white, but there’s no interior design law that states they have to be! You can pick any color or pattern that appeals to you. Check out these 10 fun colors to try.
Notice that all of the walls below these colorful ceilings are either white or very neutral to keep the room balanced. Keep that in mind as you design your space.
Feeling confident about painting your ceiling? We hope so! If you still have some questions, let us know in the comments. We are always happy to help!