Secret Pro Painting Tip: Don't Try to Rush the Job
When you’ve wanted to paint a room (or rooms) for a very long time; have finally picked out the right color(s); and, are ready to tackle the project, the last thing you want to do is all the tedious prep work. You want a coat of paint on the wall NOW. You want to cruise through this job like you’re an unstoppable pro, but we're here to tell you, that’s not how the pros do it. All those little things that are a part of prep work have to be done, and they need to be done right for your paint job to look good. If your paint job looks like you did it as fast as humanly possible, you’re not going to be happy looking at it for years. So, here's a secret pro painting tip: don’t rush the job. Follow these easy steps to ensure you get pro results from your next DIY paint project.
Take off the switchplates.
This simple step makes a big difference between a finish that looks totally amateur and one that you can be proud to say you did yourself. Something the pros know that you don’t realize is that it can actually take LONGER to paint a wall if you leave them on than if you took them off. Cutting in slowly around them takes time (you’ll also almost for sure get paint on them) and so does taping around them. So, it's actually wiser to just take a screwdriver and take them off the wall. Put them all together on a counter or table so you’re not stepping on them or losing the little screws.
Patch all the holes.
Most people like pictures on their walls. Some people like A LOT of pictures on their walls. This may be annoying to you if you’re the next person to move into that house or apartment, but you’re going to need to fill all those little holes before you paint – unless you want to put pictures in the exact same places as the last occupant. You probably don’t want to do that, so fill in the holes with spackling paste, painter’s putty, paintable caulk, or even patch sticks that make it super easy. All of these products are easy to use and won’t take much time to fill in the holes. Your paint job will look far better in the end when you can’t see any holes.
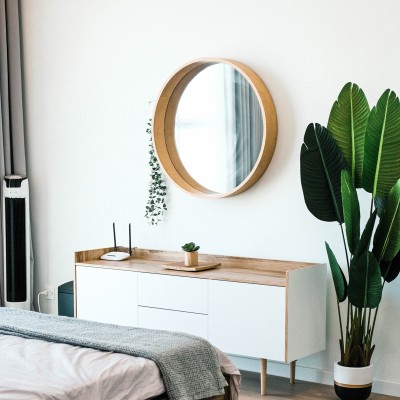
Remove as much furniture as you can.
If someone you know says that they just want to move their furniture to one side of the room while painting and then move it over to the painted area to finish instead of removing it from the room, beg them to reconsider. It takes so much more time moving things around and the furniture WILL get in your way. We promise you. You'll say, “Where did I set down the screwdriver?” and it will be under all the furniture on the other side of the room. You'll be working and you'll trip over the TV cord that you didn’t want to carry out. Painting is so much easier when there isn’t clutter around you, and accidents happen so much more often when you’re working around a whole bunch of furniture. An empty room is the best way to paint. If you can’t empty everything, then move the few largest pieces (couch, dressers, tables….) to the center of the room and cover them with plastic or a canvas dropcloth.
Wipe down the walls and trim to remove dirt and dust.
Painting a room means that you’re going to be putting your hands close to spaces that you usually never touch. You don’t run your hands over your baseboards very often I’m sure, so you might not realize how dirty all the nooks and crannies of a room get. You might have little spiderwebs up in the highest corners near the ceiling that you don’t know about at all. All of these spots should be quickly and lightly wiped down with a wet cloth. It probably won’t need a deep cleaning and it won’t take long, but it’s faster to do it all at once before you start than to have to stop and wipe it off while you’re painting.
Cover the floor.
Whether you use old blankets, plastic, or canvas drop cloths, you need to have something covering the floor. Accidents happen. Even pro painters spill, slip, kick over a can, drop a brush or roller, or step into a paint tray full of paint. They might never admit it, but these things can happen to anyone and what you have covering the floor is your insurance against accidents.
You’re ready to paint!
After you've gone through all of these steps, you’re ready to do what you’ve been waiting for. You’re going to put some paint on the walls, ceiling, and trim! We know it can be tough to have the patience to tackle all of these steps before painting, but the room will look far more awesome when you’re done. And when you're finally applying the paint, you don’t need to go at a snail's pace, but don’t try to hurry too much. Painting at a steady (not rushed) pace will ensure that you’re paying attention to drips, missed spots, applying too much paint, and painting clean, straight cut-in lines.
If you follow all these steps we’re pretty sure you’re going to love how your paint job turns out. There's even a chance that everyone that sees it will be totally impressed that a DIYer such as yourself could make it look like a pro did the job! Give yourself a pat on the back and enjoy your new room!