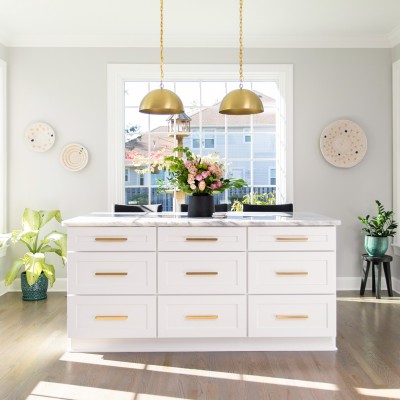
Tips for Painting the Entire Kitchen

Now’s the perfect time to delve into some painting projects around the home. The weather’s getting warmer, we’re all at home anyway, and we probably have more time than we’re used to or than we were expecting. Why not take some of this newfound time to bring some personality to your home. One of our favorite places to start is in the kitchen.
Many people say that the kitchen is the heart (or stomach) of the home. No matter how big or small your kitchen is, you can make the most of the space you have and make it a place of comfort. The best kitchen is the one that you feel like you could spend ages in, whether it’s cooking, chatting with loved ones, or simply relaxing with a cup of coffee at the counter. If you want your kitchen to have more ease and truly function as the heart of the home, then take a look below.
Apart from organizing and decluttering, the colors of the kitchen play a big role in the comfort of it. But painting the kitchen seems like a massive project. Painting in the nooks of the cabinets and getting in between appliances makes the whole affair seem way more strenuous. But when you follow our tips for painting your entire kitchen, you’ll realize you can transform the feel of your kitchen in just a few easy days. Check it out!
Decide on Your Color Palette
The task that might take the most time depending on how easily you make decisions is the color palette. When you’re thinking about the color choice for the walls, you need to also keep the color of the appliances, cabinets, and even the hardware in mind. Maybe you’re planning on changing up the color of the cabinets and their hardware anyway, but that’s just one other aspect you need to think about in the color scheme.
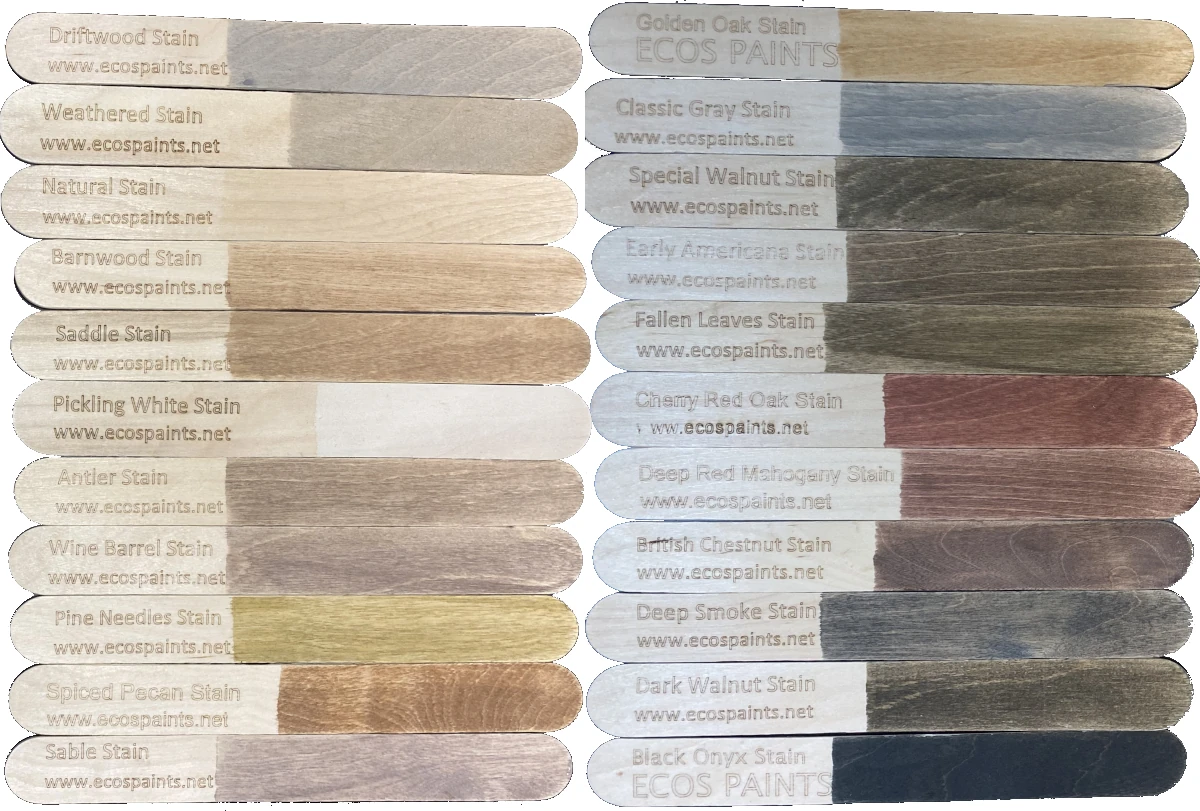
There are a few kitchen paint colors that work better than most, especially in regard to whether they stimulate an appetite. Black and other cold colors tend to not stimulate appetites as much, so you may want to save those colors for other areas in the home. Instead, lean toward warmer colors and neutrals. Red is a good color if you want a burst of energy, and browns and creams will add comfort to the room. Take your time and peruse the colors and how those will make an impact on the overall feel of the room.
Choose the Right Finish
Once you’ve decided on the color for the walls, you need to choose the finish. The finish you choose designates the look the paint will have on your walls. For example, you could go for a matte, low-sheen, low-light reflectance finish. Ideally, though, you’ll choose an eggshell finish for the kitchen, as it’s extremely hard-wearing and highly washable. What could be better for the kitchen? You may choose to use a different semi-gloss finish for the trim to have that stand out a bit more against the walls.
Clear the Room
Once you’ve decided on color and finish, your first step in painting the kitchen is clearing the room. If your space is big enough for you to get around to the walls if you push appliances to the middle, then go for it. But if you’re concerned about splattering paint or you don’t have enough space, then it’s a better idea to just clear the room in general. Anything that you don’t want paint splattered on should either be removed or covered with tarp.
Tape It Off
Once you’ve cleared the space of furniture and appliances and covered up anything you don’t want paint flecks on, then you can get into taping off. Using a painter’s tape of your choice, go through the room and tape off the areas you’ll be painting next to. Paint around doors, around appliances, around the trim, and anywhere else you’re worried about. The more often you paint, the better you’ll tell which areas need to be taped or not. If you’re not that experienced, there’s no harm in using more tape and being cautious. It may be a pain to take off later, but it will ensure clean lines and less clean-up.
Prep the Walls
Now comes the part that many people aren’t fond of—the prep work of the walls. Kitchen walls tend to get quite grimy, so you need to spend some time going through and scrubbing down the walls. Once you’ve removed as much grime as possible, then you’ll need to follow along with the other prep work steps that you would when painting any interior wall—cleaning, filling holes, sanding, and priming. Once you’ve finished priming, you’re only a step away from painting.
Paint Away
You’ve finished all the prep work, which means you can get to the fun part! If you’ve tinted the paint with any other colors and your kitchen is pretty large, make sure to mix all of the paint together in one big bucket. This will ensure that the color is the same throughout the process. Think about cutting in first to ensure a cleaner, more professional paint job, and then you can roll the walls.
Don’t Forget About Accents
When you’re done painting the walls, think about how else you can tie in the color of the walls to the rest of the room. Any interior designer will tell you that it’s important to carry your color scheme down to the smallest detail. Use any leftover paint to add some other colorful notes to lamp bases, pieces of furniture, even the cabinet hardware. The more you can make a well-rounded interior design adjustment, the more thorough your new kitchen transformation will be.
For all your painting needs, turn to ECOS Paints. We have everything you need for all sorts of painting projects, from kitchens to nurseries, from ceilings to cabinets, we’ll make sure that you have health-focused paints that’s good for your air quality and good for your walls. Take a look at our versatile color choices (we have color matching, as well) for walls and ceilings and our cabinet and trim paint! We’re the top choice for many—let us be the top choice for you!