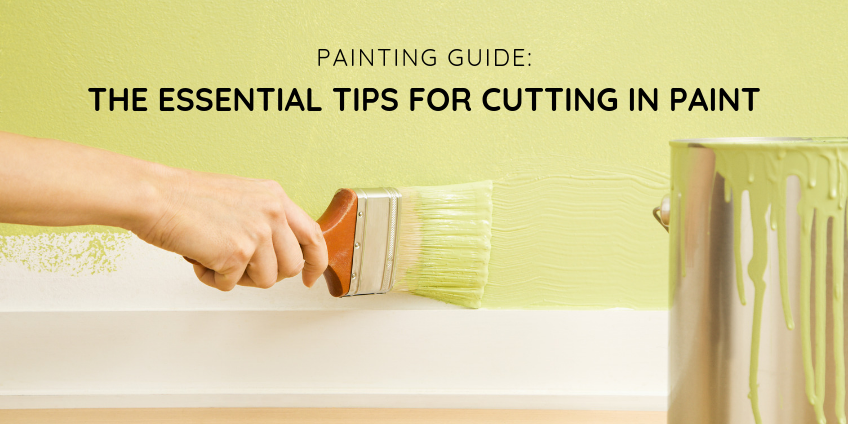
Painting Guide: The Essential Tips for Cutting In Paint

Hoping
to do some paint work around the house? After you’ve sanded and primed the
walls, grab your favorite nontoxic paint, quality brushes, and get started. One
aspect of painting many people seem to have some difficulty with is cutting in.
Instead of putting masking tape all over doors, windows, and other tight
spaces, cutting in paint can give you that solid, straight line of paint—if
done well.
Say
you want white baseboards and white window trims, but a darker wall color.
First, you’d paint the trim, but then with cutting in, instead of using tape to
cover up those areas, you would use your steady hand to paint a straight line.
This means you can just get right to painting instead of wasting time with
masking tape. Check out these tips for cutting in paint so you can become even
more like a professional painter.
What You’ll Need
- A high-quality, angled sash brush (grab a few
different sizes—1 ½ in. and 2 ½ in. are a good start)
- A cut bucket/paint pail
- Paint
- Putty Knife and a Damp Rag
6 Tips for Cutting Paint
1.
Don’t Use Too Much Paint
Pour the paint into a smaller paint pail, but make sure not
to pour too much in. Rather than dipping into the paint container itself, a
paint pail will prevent you from dipping the brush in too deep and will keep
you from grabbing too much paint. Pour only about an inch of paint into the
bucket to inhibit you from paint excess.
2.
Pat the Brush Don’t Wipe
After you dip into your bucket, resist the urge to wipe the
paint off on the edge. Wiping the sides will remove paint that is necessary for
cutting in. Patting the brush on the sides of the bucket will get rid of
excess, but still leave you enough paint to make a thick, clean line.
3.
Wiggle into Tight Corners
When you reach a section on the wall that seems a bit tough
to reach, vibrate your brush in the slightest to release extra paint. This
paint will then filter into those small areas. It’s a great technique to fill
into those tight corners.
4.
Work Up to the Line
When you cut in along any surface that requires a straight
line, don’t go in for a perfect line right away. Instead, use a crescent motion
to get the paint to the edge without getting super close. Start slightly away
from the edge you need to reach, and as you paint, let your strokes get closer with
each pass. Try not to reload the brush with paint unless absolutely required.
5.
Cut in Quickly
One of the most important things you can do for yourself is
to cut in quickly. If you do not want to use tape, you must keep your hand
steady and work quickly. Once you’ve done your crescent work and gotten
somewhat close to the line, your second or third pass should cut all the way to
the trim. With steady pressure, move your entire arm as you paint the line—this
will keep you from moving too slow or curving the brush in any way.
6.
Wipe Off Mess-Ups
This is where the putty knife and damp rug come into play.
For accurate cleanup, wrap the damp rag just once around the putty knife and
slide it along any mess-ups. This wipes off the excess and ensures another
clean line. Make sure to do this right after the mistake is made or else you’ll
have to be more aggressive with your cleanup.